# Setting up Metamask
MetaMask is a popular web extension, enabling users to manage Ethereum private keys via a web browser to provide a wallet for sending and receiving Ether and ERC20 tokens. It also allows users to run Ethereum dApps without having to run a full node, making it easier to interact with the distributed web.
## **Installing MetaMask**
\
MetaMask can be installed via [metamask.io](https://metamask.io/) or directly from an app store, though it’s recommended to navigate through the official website to ensure that you download the correct version.\
\
\
\
MetaMask is available for the Chrome, Firefox, Brave, Opera, and Edge browsers, as well as iOS and Android for mobile users. To begin, simply head over to the [metamask.io download page](https://metamask.io/download.html) from your preferred device and click install on the appropriate version. In this example, we’ll use Brave.\
\
\
\
You’ll be redirected to the store page of the official MetaMask version and can proceed with the installation from there.\
\
\
\
The MetaMask extension or app will be downloaded automatically and an icon added to your browser or smartphone. Simply click to get started with exploring the decentralized web.\
\
\
## **Setting up a Wallet**
\
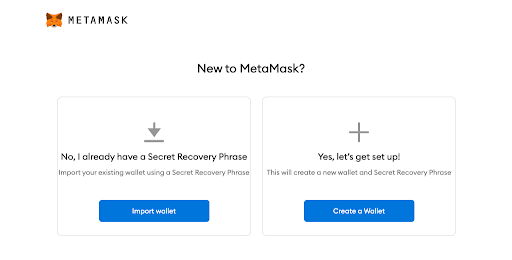
After you click “Get Started” you’ll arrive at the wallet set up screen. If you have already created an Ethereum wallet previously that you’d like to use, select “Import wallet” and follow the instructions to use it. If not, select “Create a wallet” to set up a new wallet and secret recovery phrase.\
\
\
\
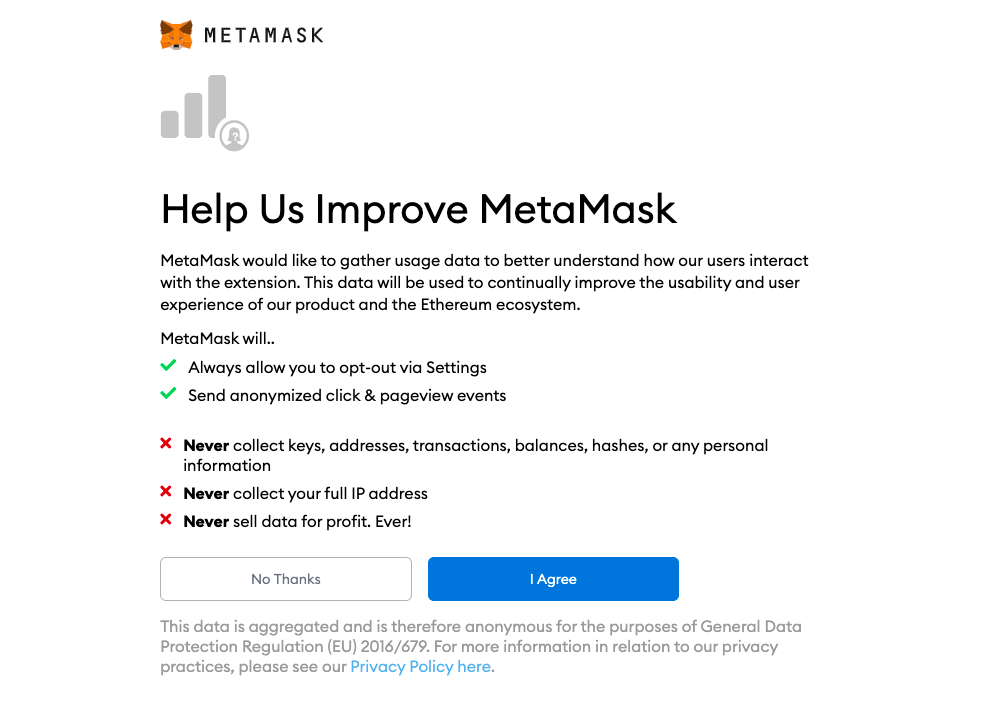
On the next screen, select whether or not to agree to feedback sharing to continue the setup process.\
\
\
\
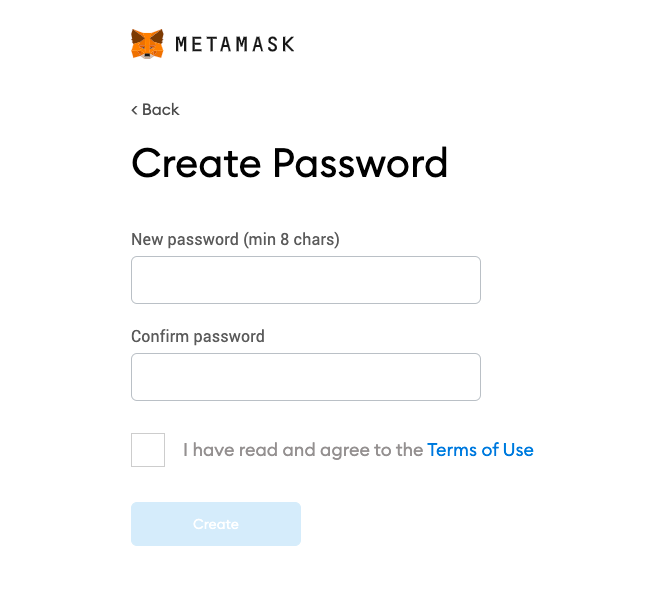
Then create a secure and strong password combining letters and numbers that is unique to MetaMask.\
\
\
\
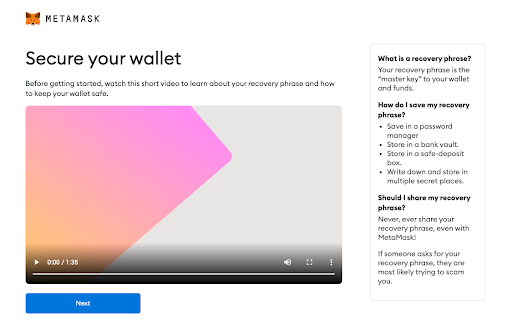
Watch the brief video on wallet security best practices, then select “Next.”\
\
\
\
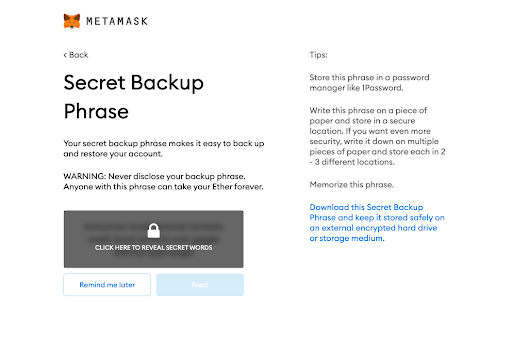
On the next screen, you can then click to reveal your secret words. These are the backup for your wallet and allow you to restore your account. Store the phrase securely as instructed and never disclose it to anyone.\
\
\
\
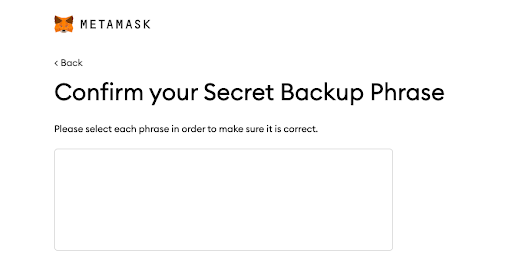
You’ll then be asked to confirm the secret backup phrase in order to make sure it is correct.\
\
\
If entered correctly, MetaMask will confirm you passed the test. Again, please read through the tips on how to store the phrase securely. If you lose it, your funds are at risk.\
\
\
\
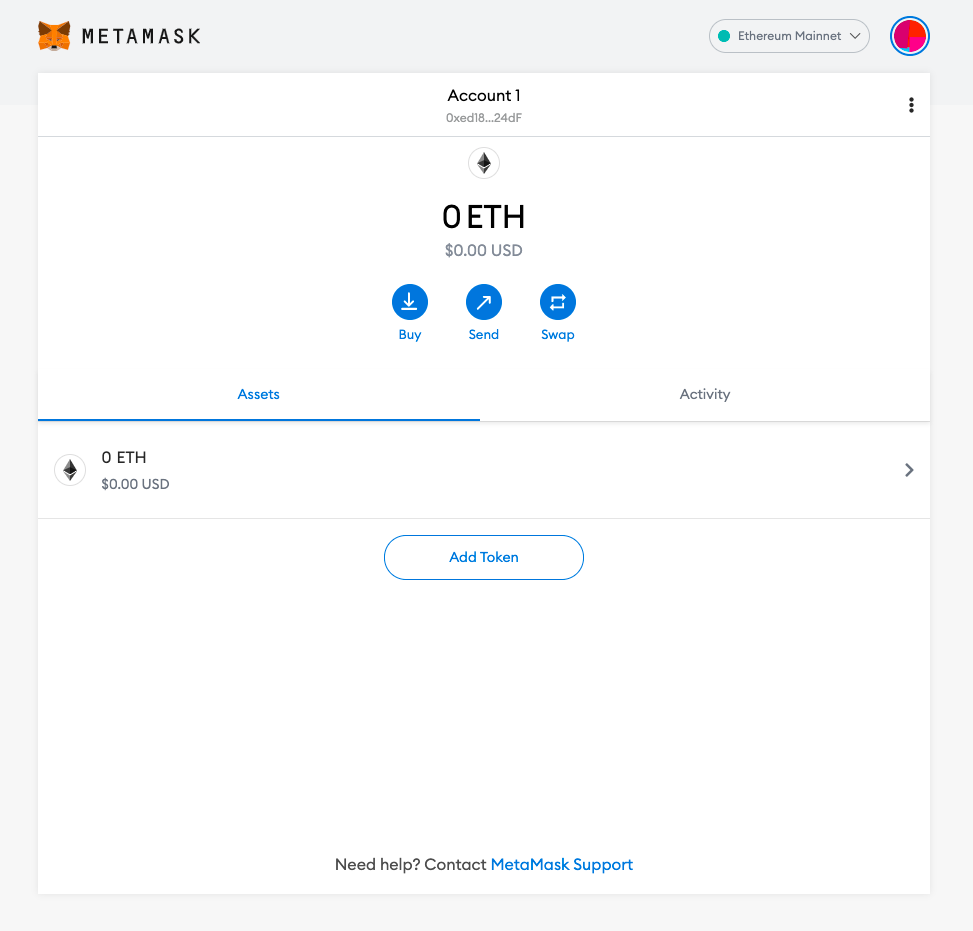
That’s it. You’ve now successfully created your MetaMask account and your wallet should be shown on screen, ready to send and receive funds.\
\
\
\
## **Depositing Funds**
\
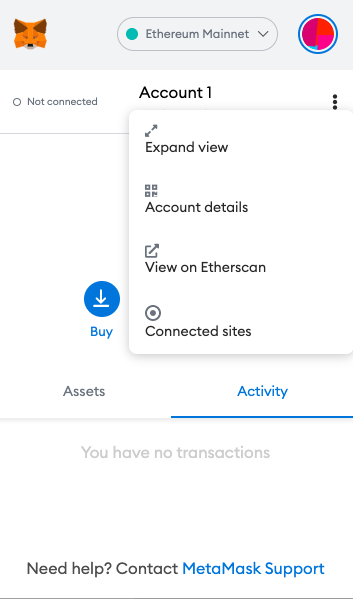
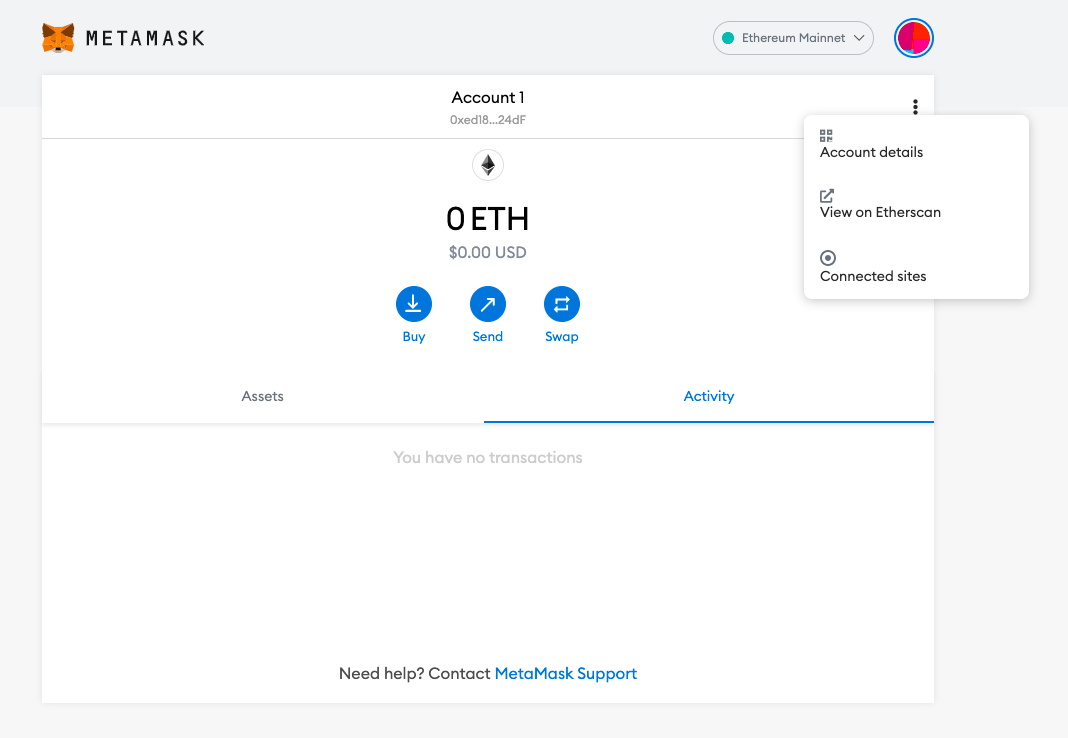
Now that you’ve set up a MetaMask wallet, you’re ready to add funds. Click on the Fox icon for easy access to the wallet dropdown when you are ready, or select from the three dots menu to expand the view.\
\
\
\
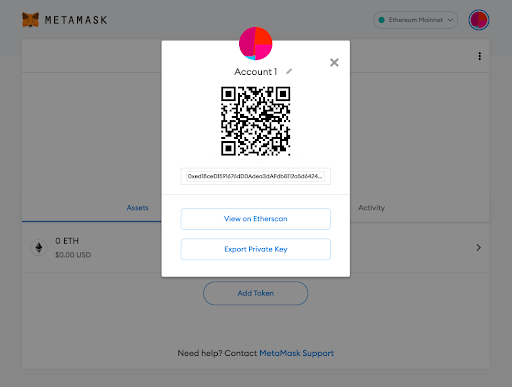
If you already have ETH or ERC20 tokens elsewhere, you can simply click on your wallet “Address 1” to copy it, or select the three dots menu and then “Account details” to bring up a QR code to scan. You can tell it is an Ethereum address as it starts with “0x”.\
\
\
\
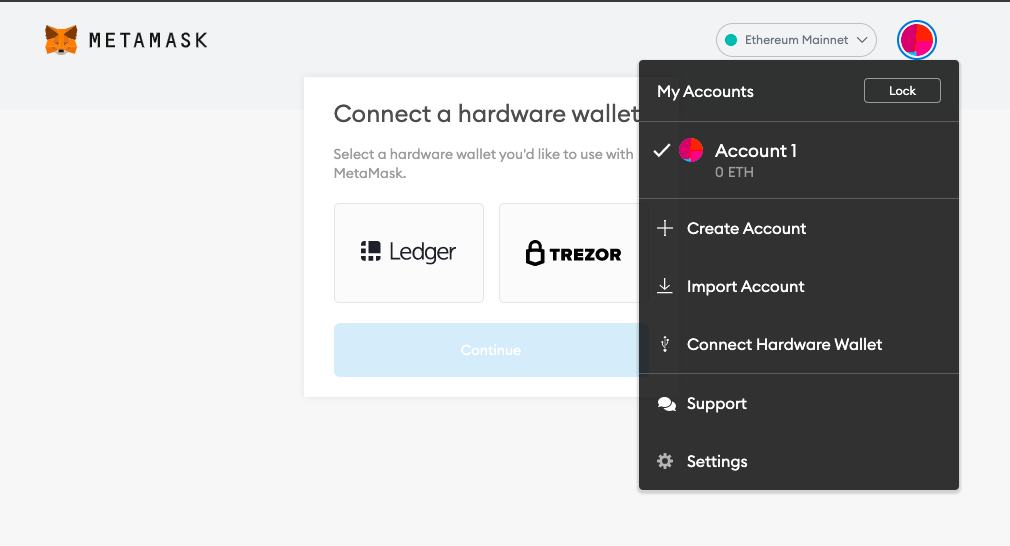
Alternatively, you can connect a hardware wallet via the profile dropdown menu that you’d like to use with MetaMask for added security.\
\
\
\
If you don’t already have funds to transfer, you can also select “Buy” to make a purchase via MataMask’s built-in exchange feature.\
\
\
Bear in mind that it can take several minutes for assets to arrive depending on current traffic on the Ethereum blockchain. The transaction will show in the “Activity” tab on the wallet and can be monitored on Etherscan via the three dots menu.\
\
\
\
Once the funds arrive, they will then be displayed in the “Assets” tab of your MetaMask wallet. If you have transferred any custom ERC20 tokens that don’t show up, simply click “Add Token” to add them to the asset list.\
\
\
\
## **Sending Funds**
\
So you’ve set up your wallet and added some funds, now you’re ready to make purchases or send the assets to other wallets, exchanges or dApps.\
\
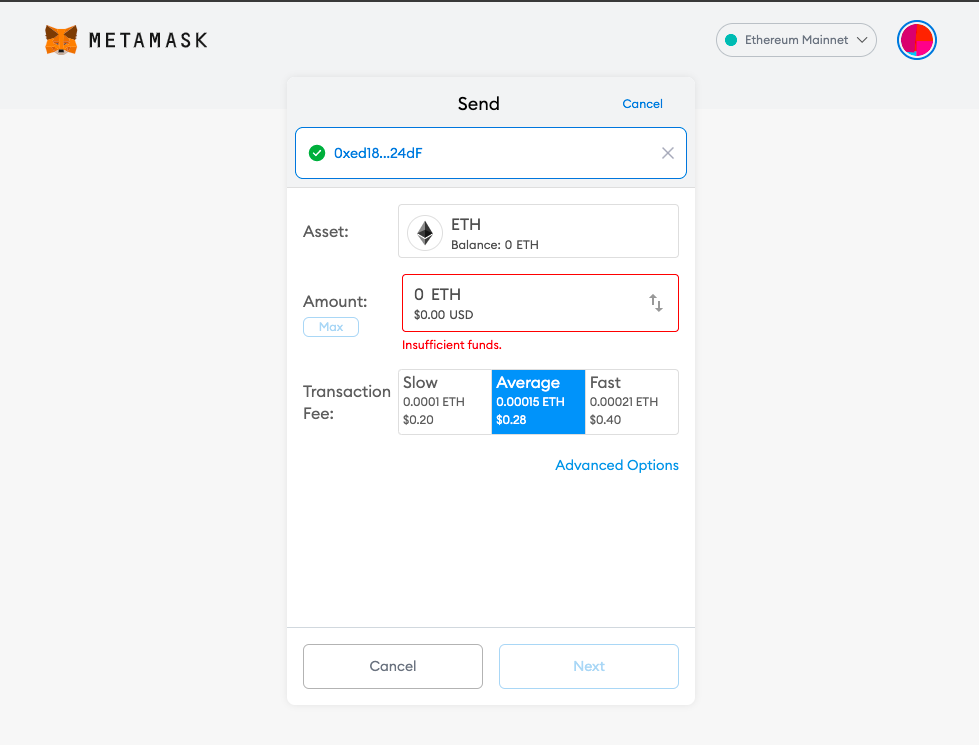
Simply select the “Send” button from the main MetaMask panel, fill in the recipient address, asset type, amount, and the transaction fee you are willing to pay depending on urgency. Higher fees can be paid to help the transaction confirm faster. Then click “Next” to check the details, then “Confirm.”\
\
\
\
Again, it may take a few minutes for the transaction to be confirmed and the status can be checked via the “Activity” tab or Etherscan link.\
## **Interacting With dApps**
\
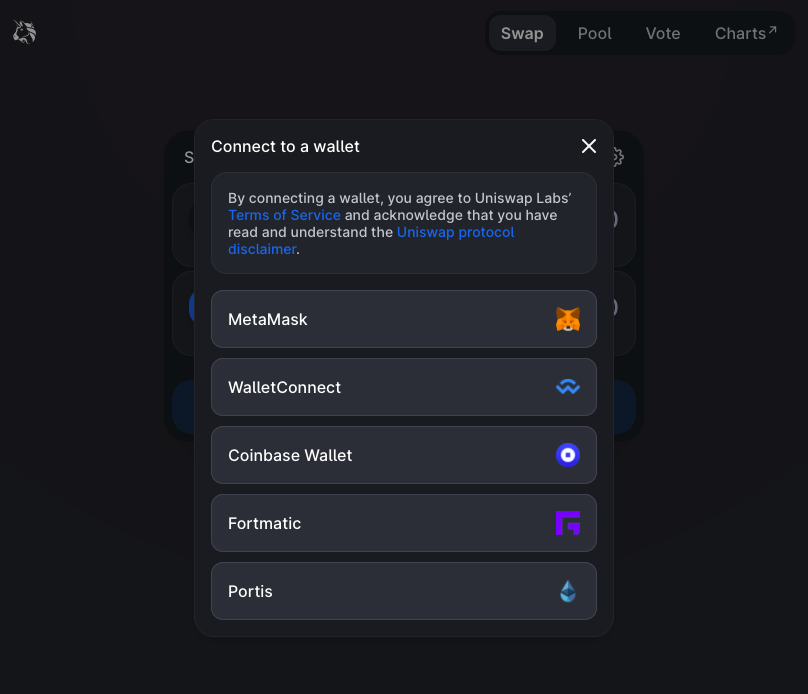
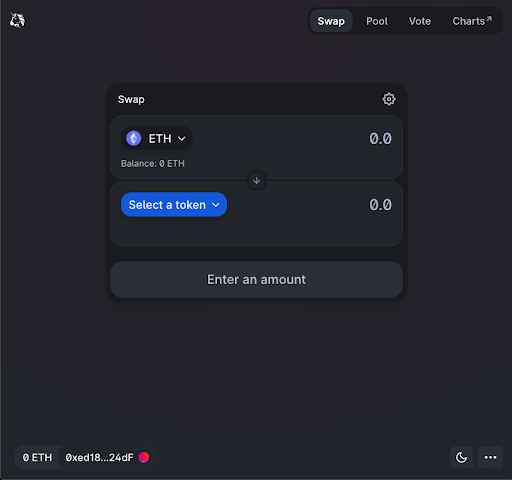
With a MetaMask wallet set up, funded, and now built into your browser or mobile device, it's easy to get started exploring and interacting with the world of decentralized applications. Simply navigate to the web page of the dApp you’d like to use, whether it be decentralized exchanges like Uniswap or SushiSwap, lending and borrowing platforms like Compound or Aave, or NFT platforms like OpenSea and Rarible. Enter the app and you should see an option to connect your wallet. Let’s use Uniswap as an example.\
\
\
\
Click “Connect Wallet” and select MetaMask from the menu.\
\
\
\
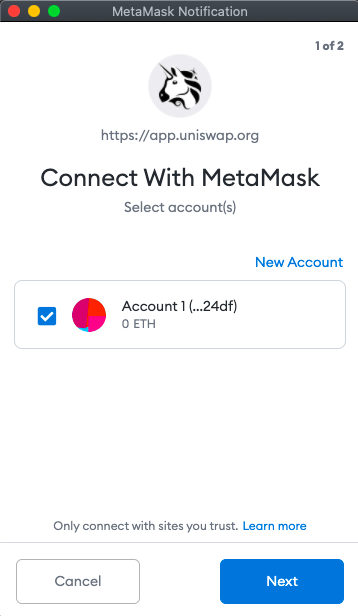
Ensure the correct account is selected on the pop-up notification and click “Next.”\
\
\
\
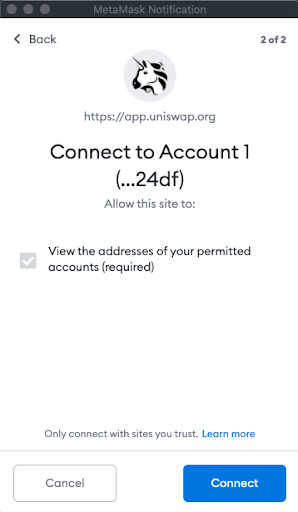
Then check the details and select “Connect.”\
\
\
\
Now you’re connected you can proceed to use the dApp and monitor transactions made in the MetaMask activity panel or via Etherscan. You can also disconnect at any time by clicking “Connected” then “Disconnect this account” from the three dots menu.\
\
\
\
Following a similar procedure, you can explore and connect with other dApps of your choice, and start taking advantage of what the world of the decentralized web has to offer.\
\
## **Summary**
\
MetaMask is your bridge to the decentralized web. Once set up you gain access to all Ethereum’s features from sending and receiving transactions and storing ETH, custom tokens, and collectibles to interacting with dApps including defi, games, NFTs, and more. Welcome to Web 3.0.
---
# Agent Instructions: Querying This Documentation
If you need additional information that is not directly available in this page, you can query the documentation dynamically by asking a question.
Perform an HTTP GET request on the current page URL with the `ask` query parameter:
```
GET https://swing-4.gitbook.io/swing/resources/setting-up-metamask.md?ask=
```
The question should be specific, self-contained, and written in natural language.
The response will contain a direct answer to the question and relevant excerpts and sources from the documentation.
Use this mechanism when the answer is not explicitly present in the current page, you need clarification or additional context, or you want to retrieve related documentation sections.